Samsung Galaxy A3 (2017) Display Replacement
Introduction
Use this guide to replace the display in your Samsung Galaxy A3 (2017).
Opening the Samsung Galaxy A3 (2017) will damage the waterproof sealing on the device. If you do not replace the adhesive seals, your phone will function normally, but will loose its water-protection.
This guide instructs you to replace only the display while leaving the original frame, logic board, and battery in place. However, some replacement screens for this phone come pre-installed in a new frame (a.k.a. chassis), which requires a very different procedure—transplanting your phone's internals and installing a new battery. Make sure you have the correct part before starting this guide.
The process of separating the display from the frame usually destroys the display, so don't follow this guide unless you intend to replace the display.
You’ll need replacement adhesive to reattach a new display and the back cover when reassembling the device.
Step 1 Back cover replacement
- Power off your phone before beginning disassembly.
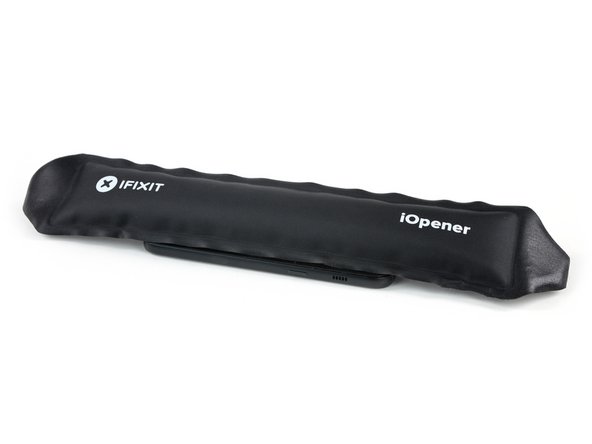
- Use an iOpener to loosen the adhesive beneath the back cover. Apply the iOpener for at least two minutes. You might want to repeat this step several times during the back cover removal.
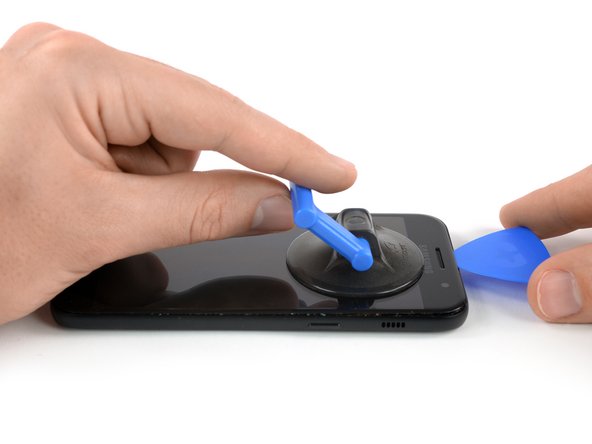
Ajouter une légende - Use a small suction handle to create a gap at the bottom end of the Galaxy A3.
- Insert an opening pick and slide the tip to the bottom left corner to cut the adhesive.
- Leave the opening pick in the bottom left corner to prevent the adhesive from resealing.
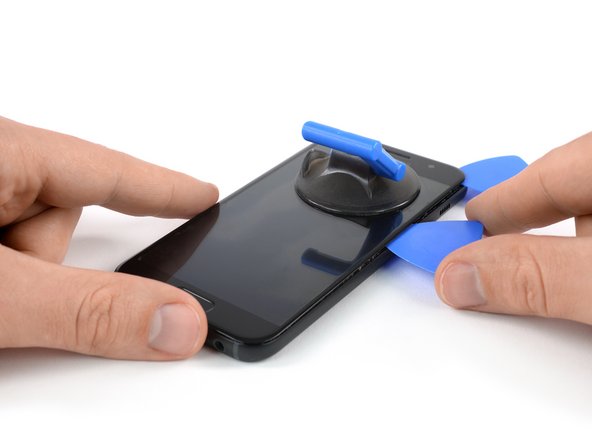
- Insert a new opening pick and start to cut the adhesive towards the bottom left side of the phone.
- Step 3
- Use an opening pick to cut the adhesive on all sides of the phone. Leave one opening pick in every corner to prevent the adhesive from resealing.
- Insert an opening pick on the right side of the phone after you cut the adhesive on all sides. Fip it sideways until you can get a good grip on the back cover.


- Step 4
-
Remove the back cover from the phone.
-

- Remove the back cover from the phone.
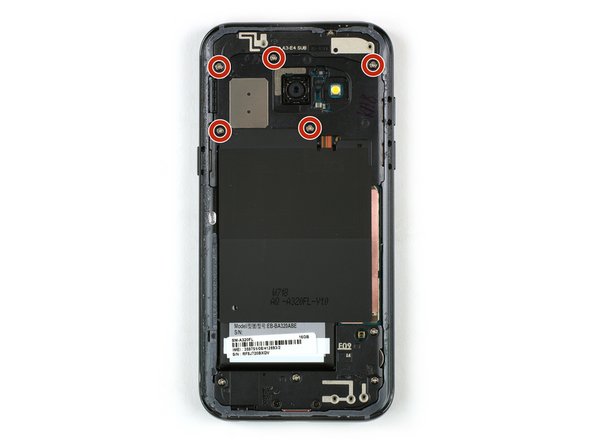
Step 5 Motherboard cover including NFC antenna and loudspeaker replacement
Remove the five Phillips #00 screws that hold the motherboard covers in their place
Step 6
Use a pair of tweezers to remove the upper part of the motherboard cover.

Step 7
Use a pair of tweezers to lift up the motherboard cover including the loudspeaker and the NFC antenna and remove it.
Step 8 Battery Disconnect
Use the flat end of a spudger to disconnect the battery flex connector.

Step 9 Display
Use the flat end of a spudger to disconnect the display flex cable.
Step 10
-
Prepare an iOpener and apply it to the display for at least two minutes to loosen the adhesive beneath.
-
If your display glass is cracked, keep further breakage contained and prevent bodily harm during your repair by taping over the glass.
-
Lay overlapping strips of clear packing tape over the display until the whole face is covered.
-
This will keep glass shards contained and provide structural integrity when prying and lifting the display.
-
Prepare an iOpener and apply it to the display for at least two minutes to loosen the adhesive beneath.
If your display glass is cracked, keep further breakage contained and prevent bodily harm during your repair by taping over the glass.
- Lay overlapping strips of clear packing tape over the display until the whole face is covered.
- This will keep glass shards contained and provide structural integrity when prying and lifting the display.
Step 11
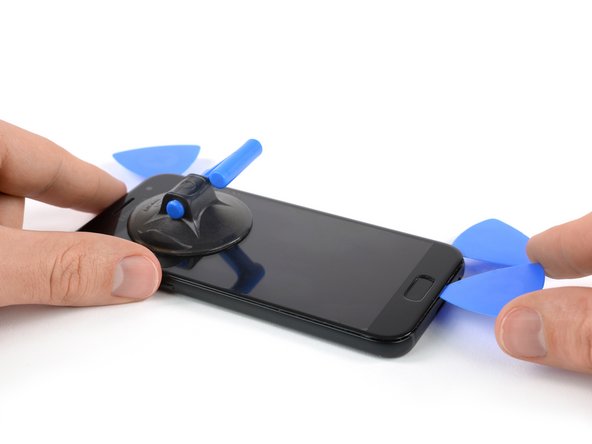
- Once the display is warm to the touch, apply a suction cup to the upper edge of the phone.
- Lift on the suction cup, and insert an opening pick under the display assembly.
- Start to slide the opening pick along the upper edge of the phone to cut the adhesive. Leave an opening pick at the corner to prevent the adhesive from resealing.
- Continue to cut the adhesive on the remaining sides of the phone and leave an opening pick in each corner.
Step 12
-
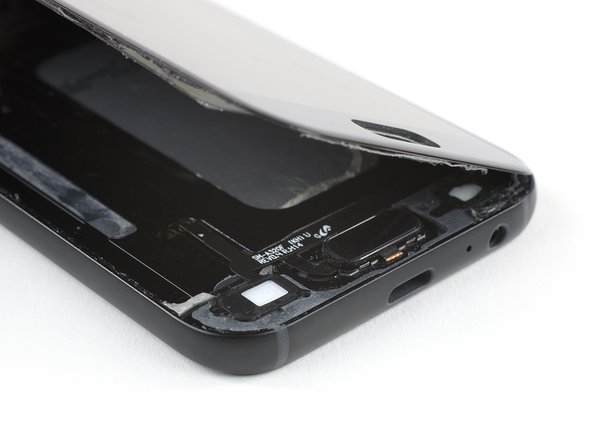
After cutting the adhesive on all sides of the phone, insert a plastic card beneath the display assembly to loosen any remaining adhesive behind it.
- After cutting the adhesive on all sides of the phone, insert a plastic card beneath the display assembly to loosen any remaining adhesive behind it.
Step 13
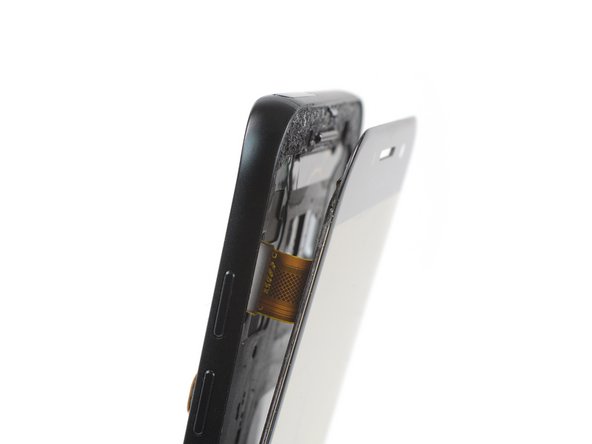
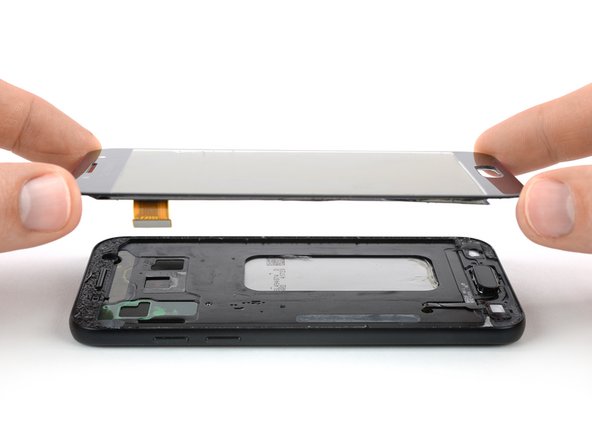
- Start to carefully lift the upper edge of the display assembly and thread the display flex cable through the mid frame.
- Remove the display assembly from the phone.
- Before reassembling make sure to remove any remaining adhesive from the frame by using isopropyl alcohol (>97%) and a lint-free cloth or Q-tip.
Commentaires
Enregistrer un commentaire